Horizon
Detailed Horizon Setup From Scratch
1. Setting up a VirtualBox Environment
If you are already using a Linux operating system you can proceed to Step X as you already have the correct environment to use with the Horizon platform.
If you are using Windows 10 then we advise installing Oracle’s VirtualBox software. VirtualBox lets you run a virtual operating system, so we can install Ubuntu yet still be inside the host Windows 10 operating system.
1) To get started, download VirtualBox here. We recommend the 6.1.12 release.
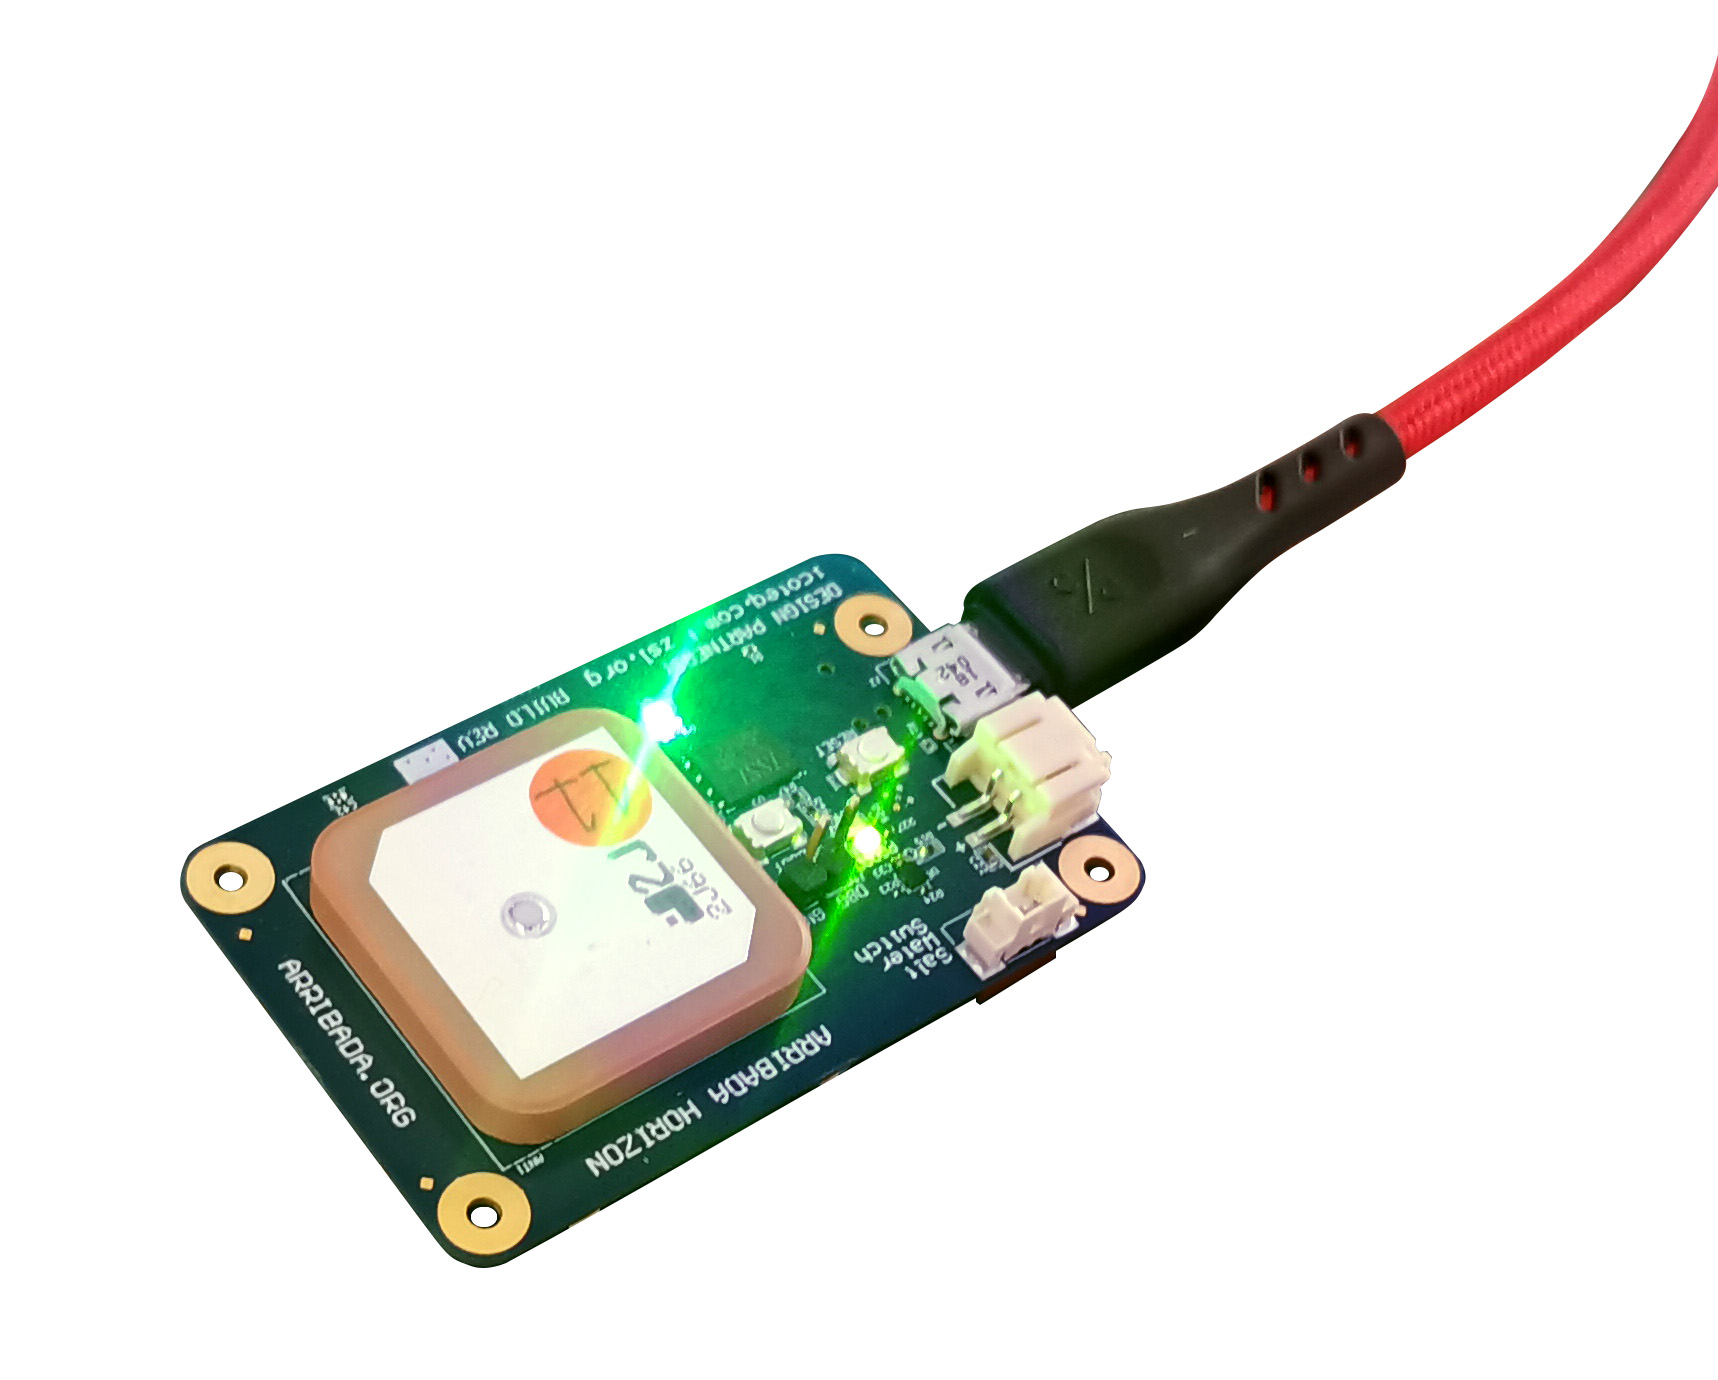
2) You will also want to download the VirtualBox 6.1.12 Oracle VM VirtualBox Extension Pack. The extension pack is necessary to allow the virtual machine to access USB on the host computer (your laptop or desktop). We’ll need that so when you plug in the Horizon board to the host USB the virtual machine can also access it.
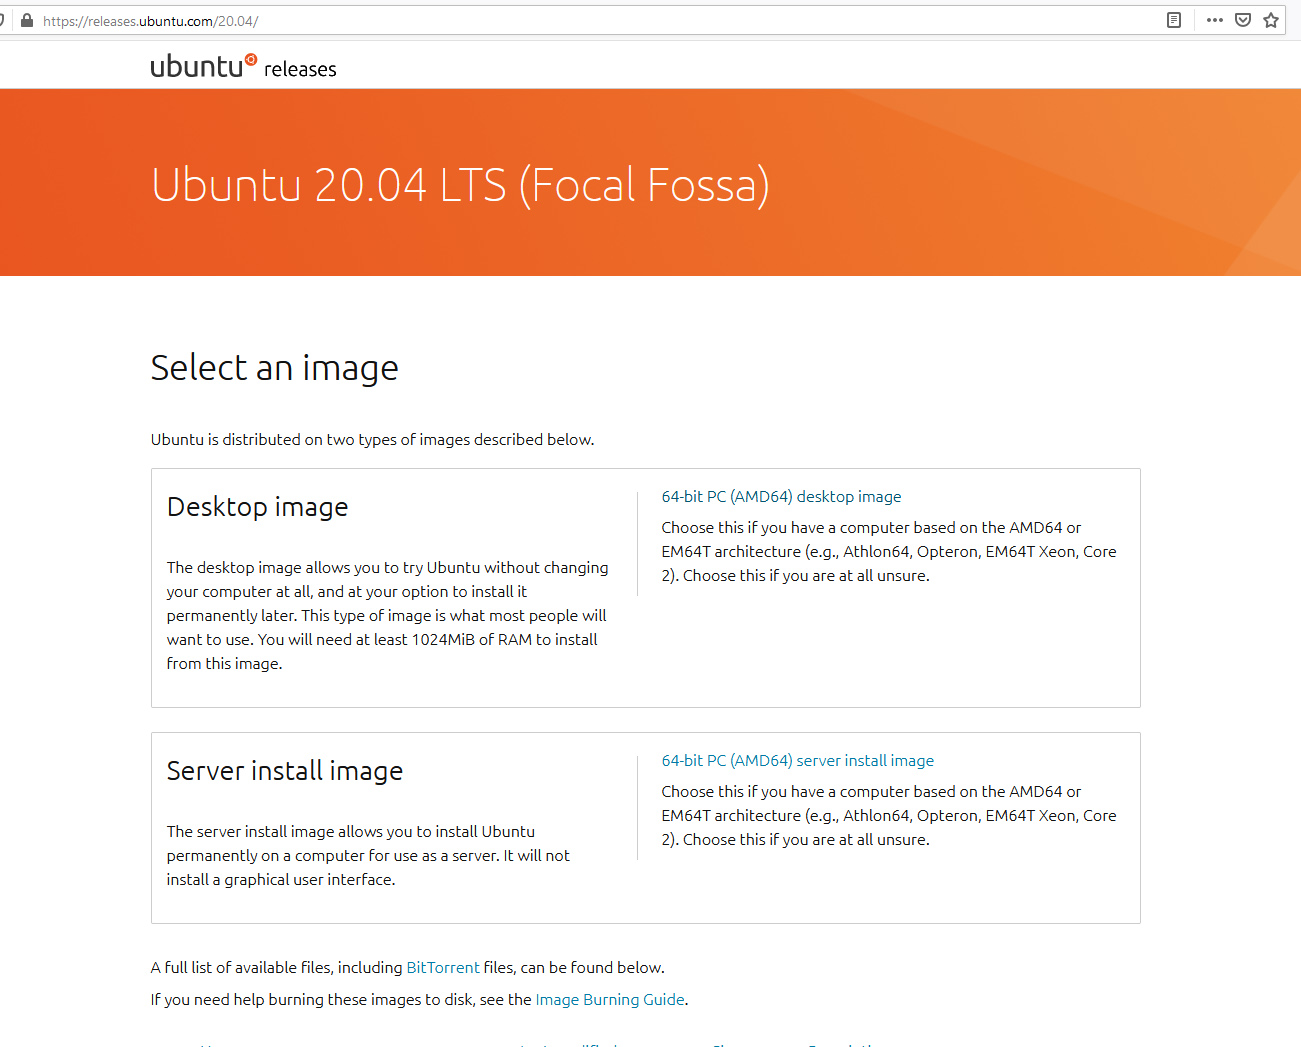
Next, we need to get a copy of Ubuntu. We recommend downloading Ubuntu 20.04 LTS. You will want to get the .iso image file, as we’ll use that with VirtualBox to create the virtual machine.
Download Ubuntu 20.04 here. You’ll want the Desktop 64-bit image.
Once you have downloaded everything above we can start to install.

2. Setting up VirtualBox
Run the main VirtualBox installer first.
Once installed, follow this guide to install the USB extension pack too.
Next, we can continue and setup the actual Ubuntu virtual machine.
1) Click on New / Create Virtual Machine.
2) Enter “Ubuntu Horizon Developer Kit” as the name so it’s easy to remember.
3) Select Linux as the type.
4) Select Ubuntu (64 bit) as the operating system.
5) Select 4096MB of RAM (usually it’s 1024 but let’s give it a bit of breathing space).
6) Select Create a virtual hard drive now. The recommend 10GB size is fine.
7) Select to create a VDI Virtual Box Image.
8) Select Fixed Size as the storage method.
9) Select 10GB disk size, but make sure you have enough spare space on your host computer. 10GB is a good minimum size for the install, but give it more if you like (and have space).
10) Click Create and let VirtalBox create the virtual machine.
11) Now that we have a machine, we need to give it the operating system. This is where the ISO file you downloaded comes in to play.
12) Select the newly installed Virtual Machine from the menu and click Settings.
13) Click on ‘Storage’ category and then ‘Empty’ under Controller:IDE. Click the “CD/DVD” icon on right hand side and select “Choose a disk file”.
14) Select the ISO file we download (ubuntu-20.04-desktop-amd64.iso) and then click OK.
15) Now click on the new Ubuntu virtual machine and hit the ‘Start‘ button so we can install Ubuntu.

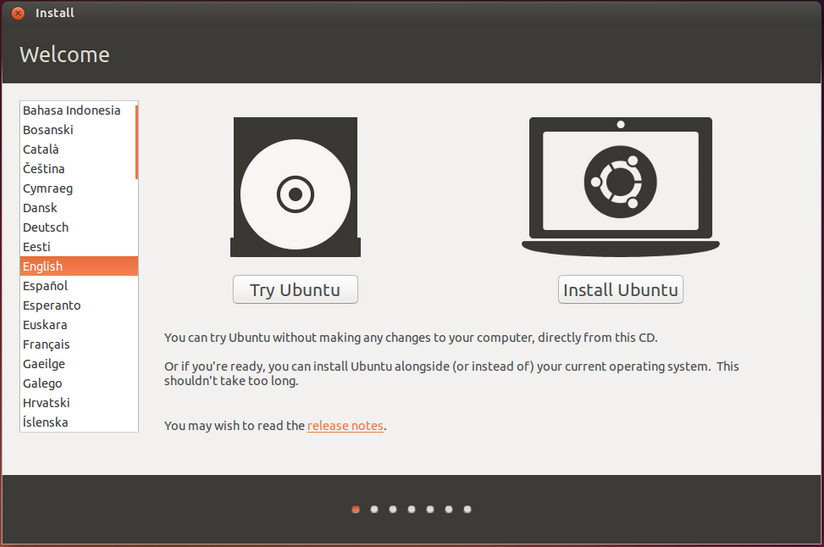
Continue through the Ubuntu setup and select your preferences. Select to Install Ubuntu (not try it) and select to erase the disk and install. Don’t worry, you are in a Virtual Machine, so it won’t erase your actual host disk.
3. Installing the Horizon Tools
Your VirtualBox has an internet connection (provided by your host PC), so it’s easy to get up and running once you have logged in.
Click on Terminal to open a new Terminal window.
Then type the followng commands to install the Horizon tools.
sudo apt-get update
cd horizon/tools
Select the tools version you want. Run “ls” and you will see the versions available. i.e cd 2_0_2 will enter the v2.0.2 tools directory, and then you can install the tools using the command below.
The tools are installed as tracker_config and can be called from the command line by running sudo tracker_config
You can now start to configure your tag, so head on over to Section 3 of the Getting Started guide to continue setting up your tag.


We’re all in this together